Your photo order is worth more …
Have you ordered photos recently from Persnickety Prints? Yes? Read on! No? Go place an order!
Photo orders shipped from our facility here at the PP are packaged with the utmost care. In fact, most photos will include chipboard protection. This is special chipboard. With the right tools, this chipboard can turn into beautiful things! We’re going to show you what your photo order is worth when you upcycle our packaging.
[hr]
How to upcycle and create a DIY Chipboard Banner. Most of the supplies you can find in a drawer, bin, or under a bed at home! (insert sarcasm)
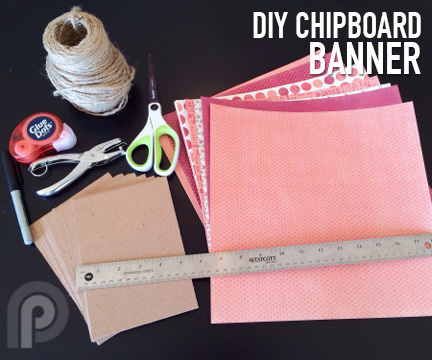
Step 1: Gather the supplies
- Chipboard
- Scissors
- Glue
- Hole punch
- Jute (or any string)
- Ruler
- Pen
- Valentine’s Paper (We printed ours right here at Persnickety Prints using Deena Rutter’s Whole Lotta Love Papers.)
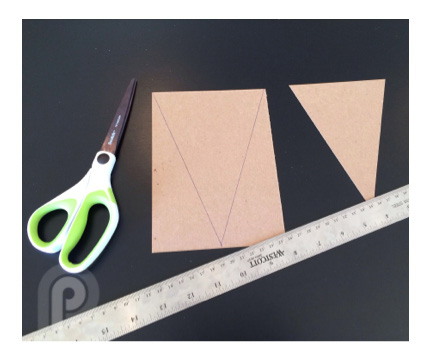
Step 2: Cut out triangles
Use a ruler to draw a triangle on the chipboard. You can make it any size you would like. Cut out the triangle and use it to trace the next ones. You can make as many as needed to create the banner the length you want.
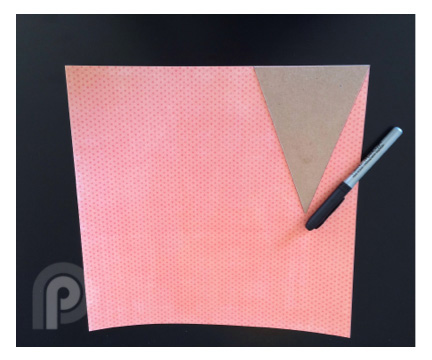
Step 3: Cut out the patterned paper
Trace the triangle chipboard onto the patterned paper. Cut out the triangle and trim it on all the sides so that it is smaller than the chipboard triangle.

Step 4: Glue and punch holes
Glue the patterned triangles onto the chipboard. Punch two holes near the top for the string.

Step 5: String the banner
Thread each triangle onto the string and voila! You are all finished and your cute new banner is ready to hang!


Our banner hangs above the entry way into Persnickety. Come check it out! We added a white tissue ball to the center. Your chipboard banner is sturdy and can hang almost anywhere!
We love the way this looks, and we love how fast and cost effective it is too. Perfect little touch for Valentine’s Day!
Contributing writers: