Precious memories are made at the beach, and great photos help preserve those moments. However taking good pictures at the beach is trickier than it may seem- the unique environment with a lot of bright sun can lead to washed out photos and dull color. Here at Persnickety Prints, we’ve printed hundreds of thousands of beach photos and have learned a thing or two about what it takes to get a great shot. We’ve compiled our top recommendations for how to shoot beach photos on your phone, and some editing tips that will make for beautiful prints.
Adjust the Exposure
Control the amount of light that reaches your camera’s sensor by adjusting the exposure setting on your phone’s camera. When you are playing at the beach, you are typically in very bright sunlight; it can block other data like color and nuanced shadows from being captured by your phone. Look at what a difference adjusting the exposure made in Jess’s photos!
If you’ve already adjusted your phone’s exposure settings and it’s not quite cutting it, try shading your phone’s camera with your free hand! It can make a big difference with blocking glare and reducing the harsh light hitting the camera’s sensors. If you spend a lot of time at the beach, consider buying a clip on polarizing lens filter for your phone. The polarizing filter reduces glare and reflections, while making colors more vibrant.
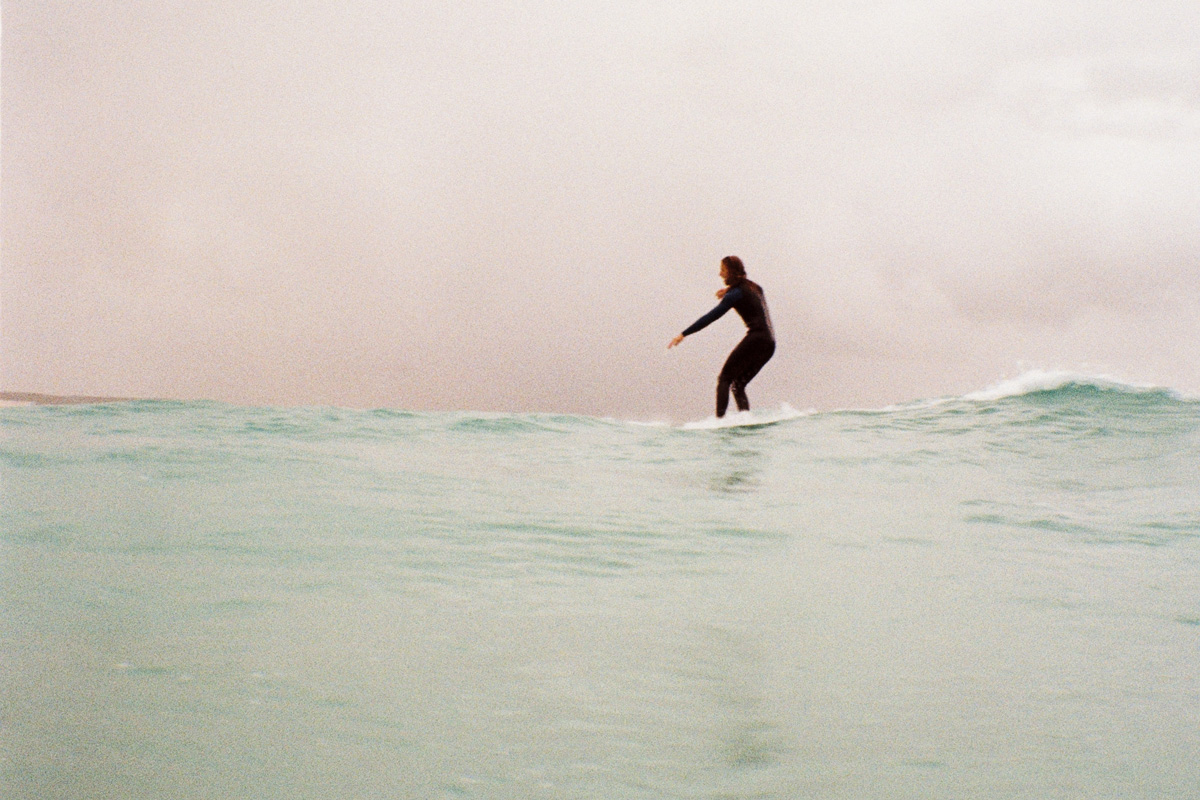
Capture Action Shots
Bring some life to your photos by capturing movement in your photos! Utilize burst mode in iPhones by sliding and holding the shutter button to the left. It’s often used in sports photography, and is a great way of capturing someone’s progress with boogie boarding or finally getting the courage to go out into the surf. If you will need to step into the water to get the perfect shot, make sure to protect your phone by placing it into a water bag with a strap!
Keep it Level
In most scenarios, it isn’t that noticeable if your photo was taken a little askew and not completely level. But at the beach? That horizon line functions like a level, and it’s definitely more noticeable! Try to keep your phone as level with the horizon as possible. If you have an iPhone you can enable a grid and level setting for your phone under Settings > Camera > Composition.
These little tricks can make a big difference with the composition of your photo. Check out how Edith utilizes the rule of thirds, and positions the horizon and shoreline to make more interesting photos!
Play with Wide Angle
If you want to take a picture of a beach sunset or sunrise, switch to the wide angle lens option on your phone! More and more phones have a 0.5 camera option, and you can easily switch to that view for a longer depth of field. This greater depth will expand the horizon line, and allow for you to play with proportions since whatever is in the foreground will look bigger than the background.
Don’t have an ultra wide angle on your phone? Switch to a different ratio, like the 16:9 camera setting! If you have an iPhone, you are able to switch to that ratio directly within the phone app, and you can capture everything that is shown on your smartphone screen.
Mind the Light
Are you wanting to have more formal shots, like portraits or family pictures at the beach? Golden hour, or the 15-30 minutes right after sunrise and right before sunset, is always the best time to do a photoshoot. However, depending on your beach’s location, one is definitely better than another.
On a West Coast beach and want pictures with the ocean in the background? The best time for your shoot is sunrise. If you are on an East Coast beach, sunset is the best time. If you try to take pictures at the opposite time of day, you will be backlit by the rising/setting sun! Your faces will be full of shadow, and your camera’s sensor won’t be able to pick up your faces. It can make for some fun silhouette shots, but definitely not the beautifully diffused light you are probably wanting.
Professional photographers will sometimes still hold photoshoots during the “opposite” golden hour, but they typically have reflectors or sometimes big lights to combat the backlighting. Even then, it will typically require more editing on their part and faces can still look a touch gray. When in doubt, just go for the recommended golden hour, and enjoy the beautiful light purples and pinks at your beach’s twilight sky.

Editing Beach Photos Taken on Your Phone
For pictures to look their best in print, they typically require some slight editing. While most prints need to be lightened, that’s definitely not the case with the typical beach photos you take on a sunny day! Despite your best exposure adjusting efforts, these images can look a little blown out, high levels of contrast with darker shadows, and little color. These are our three editing tips to have the best definition and color possible for your beach photos.
- Apply the auto- exposure edit. That alone can make a big difference, and can lessen some of the intensity.
- Reduce the contrast. You can adjust the contrast to equally tweak the highlights and shadows, or independently control the highlights and shadows to customize your look.
- Enhance the color. You can increase the saturation, or apply a filter that enhances the color.
Beach Photo Ideas
Want more beach photo inspiration?
@autumrainn sunset silhouette photo tutorial 📸 #photoideas #couplesphotoshoot #beachphotography #iphonephotographytips ♬ lovers rock (sped up) - ciaffa & Leox
@christian_shay Simple and funny beach photo idea! 😂 #tiktokpartner #learnontiktok ♬ Lovingcall - Official Sound Studio
@healthylittlepeach Fun beach photo idea! Dig a heart in the sand, place your phone at the bottom and set your camera timer and pose. Easy and adorable! 🏝️☀️ #beachvibes #beachphotos #beachheart #familyphotos #funphotoshoot #beachhack ♬ Cruel Summer - Taylor Swift
After you’ve returned from your trip, free your pictures from your phone and send them to print! Don’t let them be trapped in a place where you may not review them, or are *heaven forbid* lost to faulty technology. Keep your memories safe by printing your beach photos, and document them in a way the whole family can enjoy, whether that’s in a summer scrapbook, or as loose photos in a labeled photobox. Documenting memories is a proven way to boost connection, and to help your kids remember their happy childhood.
Working on a project where you used these ideas? Tag us on our socials, and let us know! We’d love to see what you are up to, and to cheer you on!